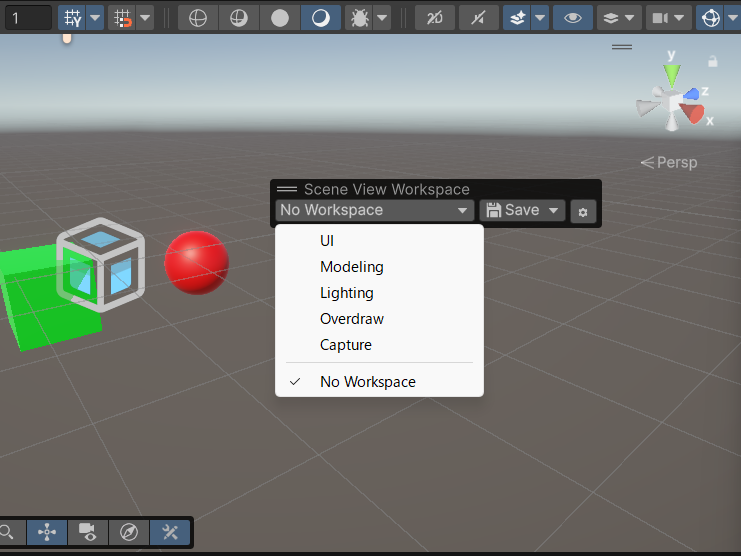
Appearance
Overlay
The Scene View Workspace overlay is where you save and switch Workspaces. After importing, it appears on the Scene View, and the built-in presets are already set up.
How to Open
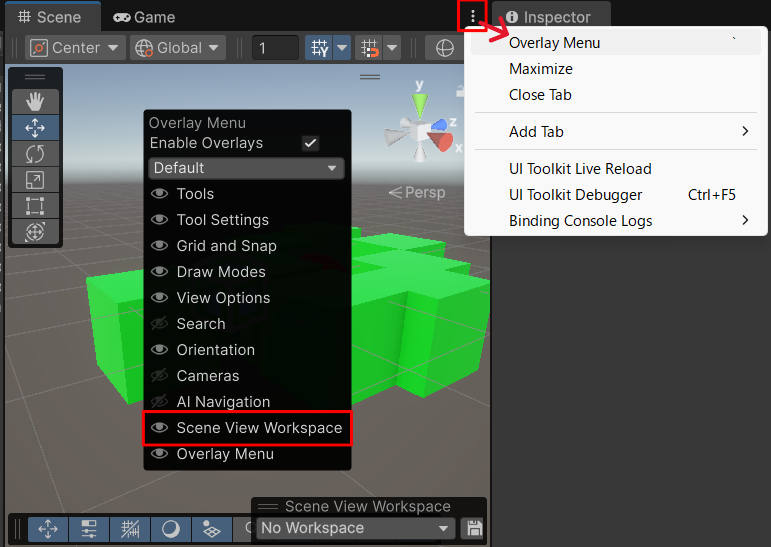
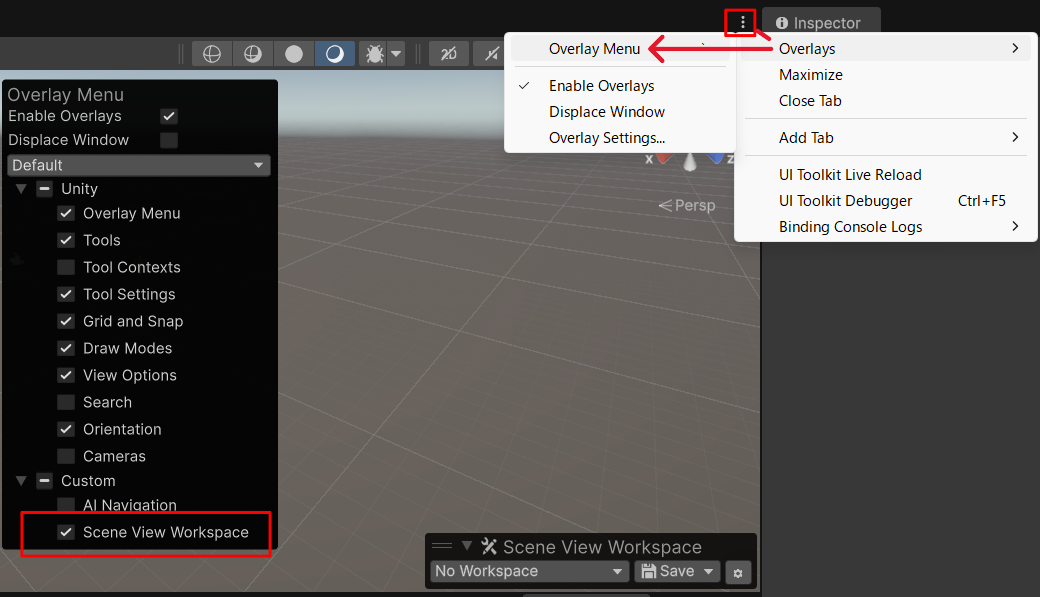
If the overlay is not shown, open the Overlay Menu from the Scene View's three-dot menu and check Scene View Workspace.
Unity 6000.0
Unity 6000.3
Basic Usage
The overlay has three controls.
| Control | Role |
|---|---|
| Workspace dropdown | Shows and switches the active Workspace. An * is appended when there are unsaved changes. |
| Save dropdown | Save New saves the current state as a new Workspace. Overwrite updates the active Workspace. |
| Settings button (⚙) | Opens the Workspace Settings window. |
Saving a Workspace
- Set up the Scene View the way you want it (camera, draw mode, tools, and so on).
- Choose Save → Save New in the overlay and give the Workspace a name. Uncheck Apply camera pose if the Workspace should only switch settings and leave the camera where it is. See Apply Camera Pose.
- To update the selected Workspace with the current state, choose Save → Overwrite.
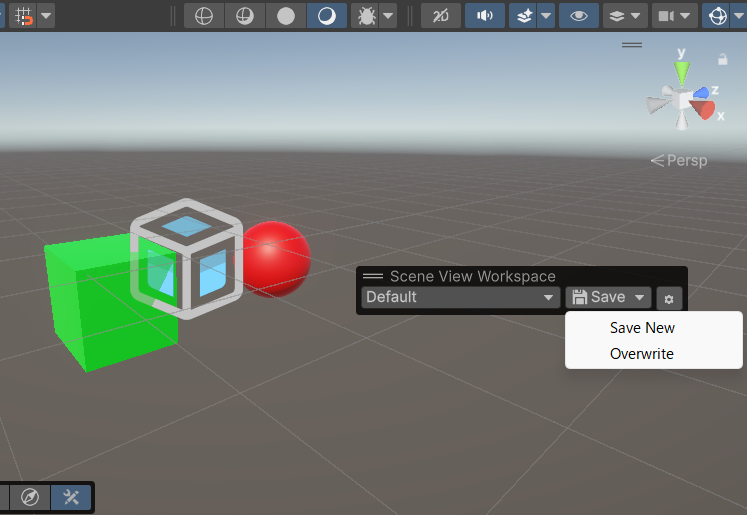
Switching Workspaces
Saved Workspaces are listed in the Workspace dropdown. Selecting one applies the Scene View state it saved to the current view.
The dropdown lists Workspaces in the order of the Workspaces tab in the Workspace Settings window. Drag rows there to reorder them. Renaming, deleting, and exporting Workspaces are also done in that tab.
Selecting No Workspace deselects the Workspace and returns the Scene View to the state it was in before you first selected a Workspace.