Appearance
Scene View Workspace
Scene View Workspace is a Unity Editor extension that saves your entire Scene View setup as a Workspace and restores it in one click. Keep a Workspace for each task, such as UI work, modeling, lighting checks, or screenshots, and stop toggling lighting, Gizmos, draw mode, and snapping by hand.
Available on the Unity Asset Store.
Quick Start
- Import the package. Import Scene View Workspace from My Assets in the Package Manager.
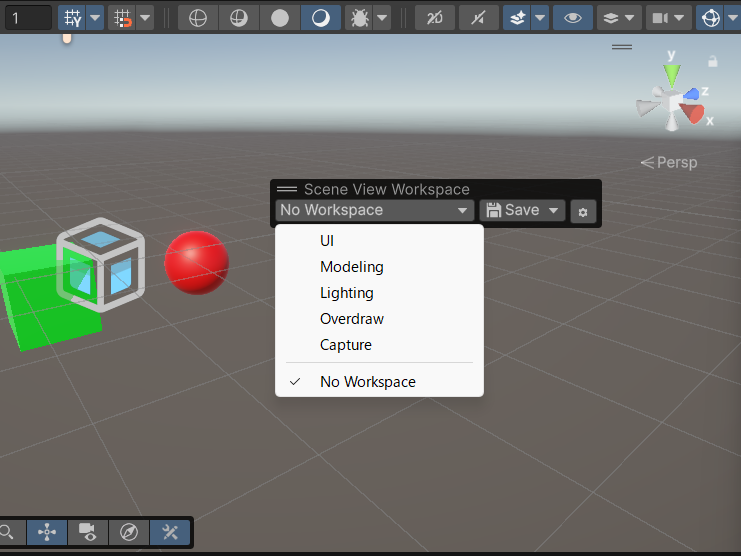
- Find the overlay. The Scene View Workspace overlay appears on the Scene View. If you don't see it, turn it on from the Overlay Menu.
- Switch to a preset. Pick UI, Modeling, Lighting, Overdraw, or Capture from the Workspace dropdown and watch the Scene View change. Choose No Workspace to go back to the setup you had before.
- Save your own. Set up the Scene View the way you like, then choose Save → Save New and give it a name.
That's all you need to get started. To have a Workspace apply itself when you enter Isolation view, see Isolate Auto-Switch Rules.
What It Does
- One-click switching — Change your whole Scene View setup from a dropdown right inside the Scene View.
- Saves the camera too — A Workspace remembers the viewpoint as well as the display settings, so it also works as a camera bookmark. Turn off Apply Camera Pose for a Workspace to switch only its settings and keep the camera where it is. See Saved Settings.
- Auto-switch on Isolation — Enter Isolation view (Shift + H) and the Workspace that matches the object's name, tag, or layer is applied. Your previous view returns when you exit.
- Non-destructive — Only Editor-side Scene View state changes. Your Scenes and assets are never modified.
- Ready-to-use presets — Five built-in presets work the moment you import.
- Share as JSON — Export and import Workspaces and rules to back them up or share them with your team.
Requirements
- Unity 2022.3 and all Unity 6 versions
- Editor-only, with no external dependencies. It never affects your builds.